Your phone is broken—what decision are you really making?
Your phone is “broken” in a way that forces a decision before you even touch a screwdriver: are you buying certainty, or buying a chance to save money? A full-service repair route usually bundles diagnosis, parts sourcing, proper sealing, and a warranty on the work. DIY shifts those jobs to you, along with the risk that a small mistake turns a cracked screen into a dead display or a damaged connector.
Most people aren’t really choosing between “repair or replace.” They’re choosing a mix of total cost, time without the phone, and how much risk they can tolerate—including the risk to photos, two-factor authentication apps, and warranty coverage.
Diagnose the problem before you choose a repair path
You’ve probably seen the same symptom point to two very different fixes: a “dead” phone that’s actually a clogged charging port, or a “broken screen” that’s really a failing display cable after a drop. Before you pick a repair route, do a quick, low-risk triage. Try a different cable and charger, clean the port gently with a toothpick (no metal), and test whether the phone is on by calling it, checking for vibration, or connecting to a computer.
Separate what’s cosmetic from what’s functional. A cracked glass panel with normal touch and brightness is a different job than flickering, green lines, ghost touches, or an unresponsive area. For battery complaints, look for patterns: sudden shutdowns under 30%, fast drain, or heat during simple tasks. If you can’t narrow it down in 10–15 minutes, paid diagnosis at a reputable shop can be cheaper than ordering the wrong part—especially once tools, adhesives, and return hassles are in the mix.
Full-service repair: what you pay for beyond the part
You’ve likely noticed the quote for a full-service repair can feel “high” compared to the price of a screen or battery you see online. That gap isn’t pure markup. You’re paying for someone else to confirm the real failure, source a compatible part, and install it with the right adhesives, clamps, heat control, and torque so the phone goes back together without stress cracks, stripped screws, or pinched cables.
You’re also buying a process: pre-test, post-test (cameras, speakers, Face ID/Touch ID where applicable, charging, cellular, Wi‑Fi), and usually some form of workmanship warranty. Good shops also handle the boring but important details—new waterproofing gasket when possible, proper display calibration, and safe battery handling. The practical constraint is that “full-service” still varies widely. Manufacturer and carrier options can cost more and take longer, while independent shops can be faster but may use parts that differ in quality unless you ask what grade they install and what their warranty actually covers.
DIY repair: when it saves money and when it backfires
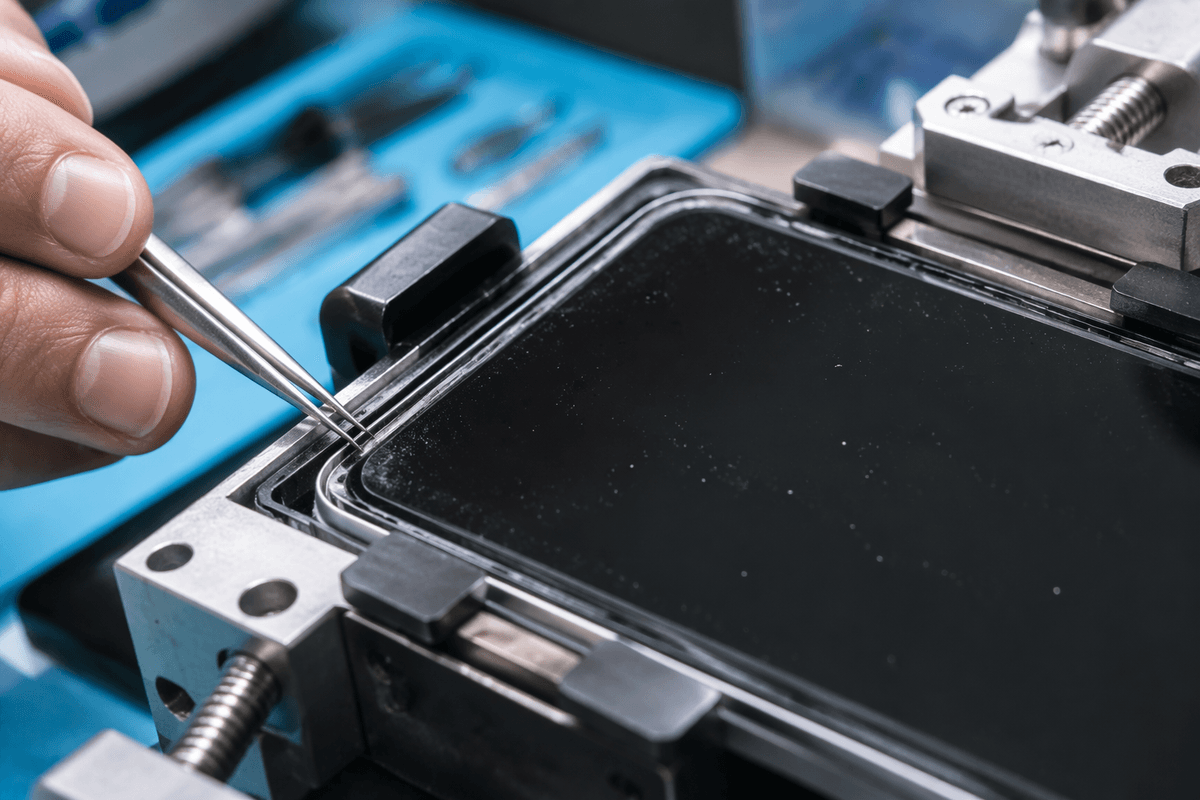
You’ve probably watched a 10-minute video and thought, “I can do that.” Sometimes you can—especially for simple jobs like cleaning a port, swapping a battery in older, less-sealed models, or replacing a charging flex on a phone that’s already out of warranty. DIY can save real money when you already have the tools, can wait for parts shipping, and can confirm the exact failure so you’re not buying two “maybe” parts. It also helps if you can tolerate a less-than-perfect cosmetic result, like slight gaps, dust under the glass, or weaker water resistance after reassembly.
DIY backfires when the repair depends on calibration, fragile cables, or precise sealing. Common failure modes are tearing a display flex, cracking the new screen during installation, stripping tiny screws, or damaging Face ID/Touch ID components that can’t be fully restored without manufacturer-level pairing. The hidden costs add up fast: heat tools, adhesive, clamps, and the time to troubleshoot if the phone boots but loses cameras, cellular, or microphones.
Cost, time, and risk: a simple way to compare options
You can compare repair routes with a quick “total burden” check: (1) all-in cost, (2) time without a reliable phone, and (3) downside if it goes wrong. Start with cost, but include the extras that usually get missed: sales tax, shipping, tools you don’t own yet, adhesive/waterproofing kits, and the value of any warranty you’d lose. A $60 battery can turn into $110 once you add tools and a decent adhesive frame, and that’s before a second part if the first one is defective.
Time is more than the repair itself. Full-service often means same-day turnaround or a multi-day mail-in queue; DIY adds shipping delays and “diagnose twice” time if something doesn’t work on reassembly. Risk is the tie-breaker: ask yourself what a mistake costs you. If the phone holds two-factor authentication, work apps, or irreplaceable photos, treat data loss or a dead logic board as a real dollar figure. If that worst-case number feels painful, pay for certainty; if it’s tolerable, DIY can be a rational bet.
Choosing a repair shop (or DIY parts) without getting burned
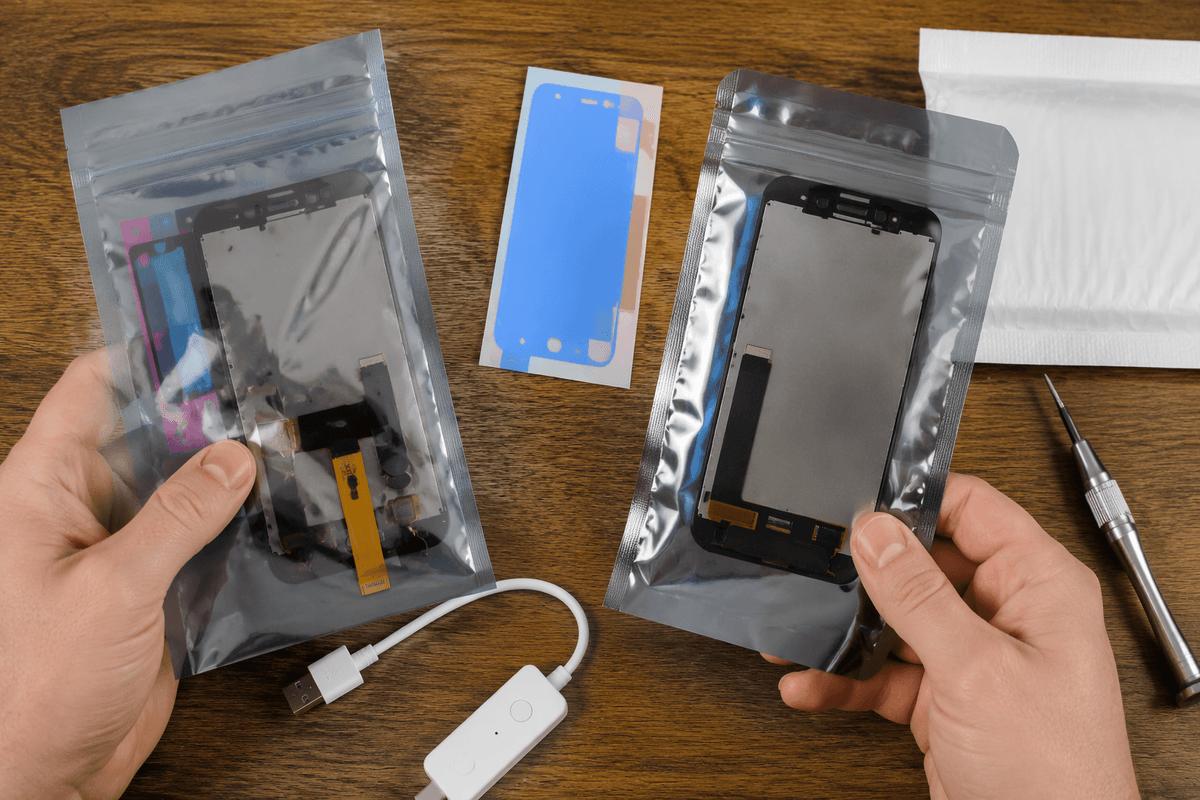
You’ve probably seen wildly different quotes for what sounds like the same repair. Before you hand over the phone, ask what part grade they install (OEM, refurbished, or aftermarket), whether water-resistance sealing is restored, and what exactly their warranty covers (parts and labor, and for how long). A good shop will quote an all-in price, explain what data they might access during testing, and run a clear post-repair checklist (charging, cameras, speakers, biometric login where applicable). Practical constraint: reputable shops cost more because they eat the time for diagnostics, redo work, and warranty returns.
If you’re sourcing DIY parts, avoid “too cheap to be true” bundles and prioritize sellers with clear return terms and a known part origin. Match the exact model/variant, check whether the repair requires calibration or part pairing, and assume you may lose water resistance after opening the device. If you can’t get a straight answer on part quality or warranty, treat that as the answer.
After the repair: protecting your data and extending phone life
You’ll be tempted to celebrate and move on, but the first 20 minutes after a repair are when problems and data risks show up. Before you sign off, unlock the phone, confirm cellular and Wi‑Fi, test both microphones (voice memo + speakerphone), cameras, charging, and biometric login. If a shop touched the device, change your screen passcode and any password you typed during setup, and confirm your cloud backup is current. If you did DIY, keep the old part until you’re sure the new one is stable.
To extend life, treat the repair like a “reset” of bad habits: use a case and a tempered glass protector immediately, keep the charging port clean, and avoid heat (car dashboards and fast charging under a pillow). Battery replacements benefit most from staying between roughly 20–80% most days, but the real constraint is convenience—so aim for “less heat, fewer deep drains” rather than perfection.