Overclocking a GPU: what “faster” really means
You’ve probably seen it already: two runs of the same game, same settings, but one feels a little smoother. GPU overclocking is about nudging your card to hold higher boost clocks more often, not magically turning a midrange GPU into a flagship. In practice, “faster” usually means a small FPS bump, steadier 1% lows, or fewer dips when scenes get busy.
The trade-off is that performance isn’t free. Higher clocks generally need more power, which creates more heat, which can trigger throttling and erase the gain if cooling can’t keep up. The goal is a stable, repeatable improvement you can actually feel, not the highest number a benchmark shows once.
Know the risks: heat, noise, crashes, and warranty limits
You’ll feel the risks before you “see” them: the room warms up, fans ramp harder, and the card gets louder under the same game load. More power means more heat, and heat has two costs—throttling (which steals back performance) and long-term wear on fans and VRAM temps if your case airflow is weak. Instability is the other obvious tax: a too-aggressive core or memory bump can cause stutters, driver resets, black screens, or a full reboot, sometimes only after 30–60 minutes.
Warranty limits are the quiet constraint. Many cards tolerate slider-based tuning, but voltage mods, BIOS flashing, or disabling protections can void coverage. Even “safe” overclocks raise power draw, which can expose a borderline PSU or poor cable seating.
Set up your tools and capture a clean baseline
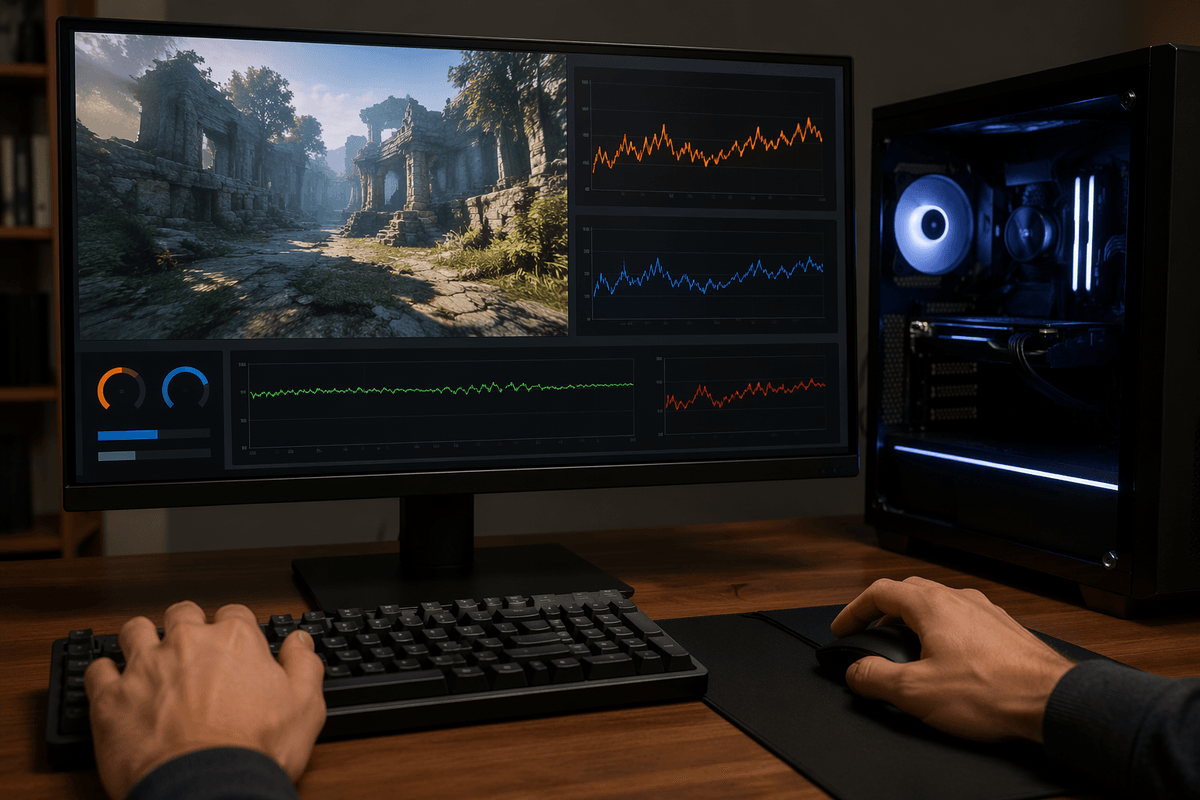
The most common mistake is tuning blind. Install one tuning tool (MSI Afterburner is the usual pick) and one monitoring overlay (HWiNFO or GPU-Z), then set your overlay to show core clock, GPU temperature, hotspot temp (if available), fan speed, power draw, and VRAM/junction temp if your card reports it. Update your GPU driver, close background updaters, and make sure your case fans are on a normal profile so the “starting point” is real life, not a one-off quiet mode.
Run a repeatable workload before touching any sliders: a built-in game benchmark, a 10-minute loop in a demanding area, or a standard GPU stress test. Record average FPS, 1% lows, peak temps, and whether clocks stay steady or droop. That baseline is what tells you if an overclock helped, or just made the card louder and hotter for the same performance.
Start with power limit, temperature limit, and fan curve
The first “performance” tweak usually isn’t a clock at all. Raise the power limit to the max your card allows, and if there’s a temperature limit slider, bump it a little too. You’re not forcing extra heat; you’re giving the boost algorithm room so it doesn’t hit a low power cap and drop clocks mid-scene. Watch how power draw and hotspot temp respond in your baseline test.
Then set a fan curve you can live with. A slightly earlier ramp (for example, aiming to stay under ~75–80°C GPU temp) often holds steadier clocks than a quiet curve that waits too long. The real constraint is noise and case airflow—aggressive fans can get annoying fast, and weak intake can make higher limits pointless.
Dial in the core clock without chasing instant max numbers
You’ll be tempted to drag the core clock slider up until something breaks, but core tuning is smoother when you treat it like a series of small bets. Add a modest bump (often +15 to +30 MHz), apply, then run the same repeatable workload you used for your baseline. Watch for the first signs of instability: a sudden driver reset, a black screen, or “sparkles”/random flicker that wasn’t there before. If it passes, add another small step and repeat.
When you hit trouble, don’t guess. Back down one or two steps and rerun the test longer. If you’re right on the edge, you may see the clock look fine but performance gets worse because temps or power draw trigger throttling. Voltage sliders can help on some cards, but the cost is more heat and noise for diminishing gains, so many gamers stop at the highest stable core offset without extra voltage.
Tune memory clock: easy gains, tricky symptoms
Memory overclocks often feel like “easy FPS,” especially at higher resolutions where you’re bandwidth-limited, but the failure modes are sneakier than the core clock. Start in small steps (try +50 to +100 MHz on the slider at a time), apply, and rerun the same benchmark loop you’ve been using. Unlike a core OC, unstable memory doesn’t always crash right away. You might see tiny glittering specks, textures that look briefly corrupted, shadows that crawl, or sudden hitching that wasn’t there before.
When that happens, don’t assume it’s a game bug. Drop the memory offset by one step and test longer. Also watch VRAM/junction temperature if your card reports it; memory can get too hot even when the GPU core looks fine, and fixing that usually means more fan noise or better case airflow. Some cards also “error-correct” silently and lose performance, so if FPS stops improving, you’re already past the useful limit.
Prove stability: stress tests, game loops, and quick fixes
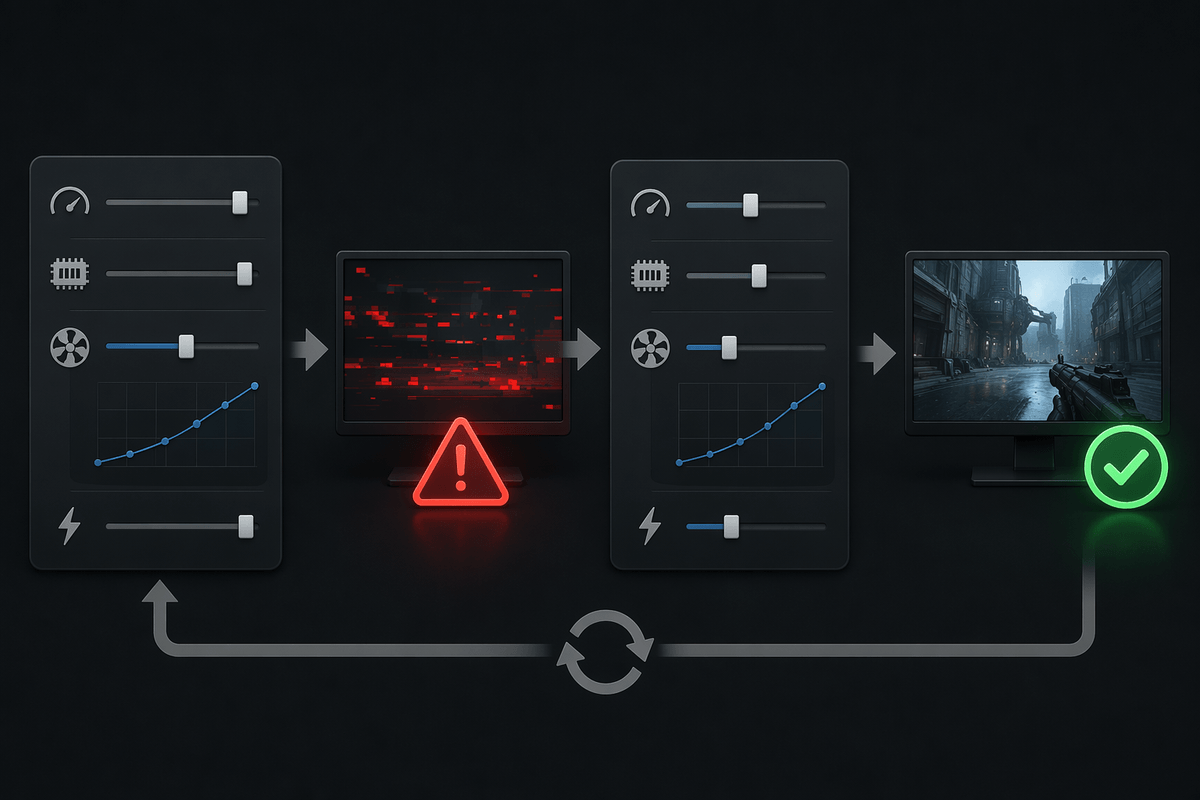
The overclock isn’t “done” until it survives the stuff you actually play. Run a quick 5–10 minute stress test to catch obvious instability, then do the real proof: a 30–60 minute loop in a demanding game area (or a built-in benchmark on repeat) with your overlay up. Look for consistency, not just a single clean pass—watch hotspot/VRAM temps creeping over time, and pay attention to hitching, audio pops, or a sudden drop in FPS that can signal throttling or memory errors.
If you crash or see artifacts, fix one thing at a time. First, back off the last change (core or memory) by one step and retest. If it only fails when everything heat-soaks, adjust the fan curve slightly or lower the power limit a notch to reduce heat spikes—often cheaper than adding voltage. Keep in mind stability testing costs time, and aggressive fan curves may be “stable” but too loud for everyday use.
Lock it in: save profiles and know when to stop
Once you’ve got a core and memory offset that survives your longer game loop, save it as a profile in your tuning tool and label it clearly (for example, “Daily OC” and “Stock”). Keep a second “quiet” profile too—slightly lower power limit or a gentler fan curve—so you can swap based on the game and the season. Know when to stop when the next step only adds heat, noise, or random hitching for a 1–2 FPS gain. A stable, repeatable OC beats a fragile screenshot.