From raw clips to a watchable home movie
You probably have the same pattern every time: a bunch of clips that felt meaningful in the moment, but when you watch them back it’s shaky, repetitive, and way longer than anyone wants to sit through. The goal isn’t to “save everything.” The goal is to turn the raw footage into a short video that someone can watch straight through without getting lost or bored.
A watchable home movie usually comes from a few simple choices: keep only the moments that show what happened, put them in an order that makes sense, and trim hard so the pace stays friendly. Expect trade-offs. Cutting out “perfectly good” clips can feel uncomfortable, and it takes time to review everything once, but that one pass is what makes the rest of editing fast and clear.
Start by organizing footage so editing stays fast
The fastest edits start before you open the timeline. Dump everything into one project folder, then create a simple structure inside it: “Footage,” “Audio,” “Exports,” and “Project Files.” If your phone created a dozen tiny folders, don’t fight them—copy the videos into “Footage” and leave the originals alone. Rename clips just enough to be searchable later (like “Beach_arrival,” “Cake_candles,” “Hike_view”), and add the date if you’re mixing days.
Inside your editor, make bins or albums for the same categories, plus one more: “Selects.” As you watch clips, don’t start cutting. Just mark favorites, add a quick label like “must use” or “maybe,” and move on. This is the boring part, but it prevents the common time-waster: hunting for “that one good shot” while you’re trying to build the story. It also costs real time upfront—plan on one focused pass.
Choose the best moments before you touch the timeline
You know the feeling: you drag a few clips onto the timeline “just to start,” and suddenly you’re stuck rearranging and trimming for an hour without being sure what the video is even about. A cleaner way is to choose your moments first. Open each clip, skim it, and decide: does this show something new, or is it another version of the same thing? If it’s the same, keep the best one and let the rest go.
Build your “Selects” like a highlight reel: 5–20 short moments that actually move the day forward—arrival, the thing you came to see, a reaction, a detail shot, the end. Mark only the strongest 3–5 seconds of a long clip (the laugh, the jump into the pool, the candles getting blown out). This takes discipline, and it can feel risky to skip “context,” but you can always pull more later if the story needs it.
Give your home video a simple beginning, middle, end
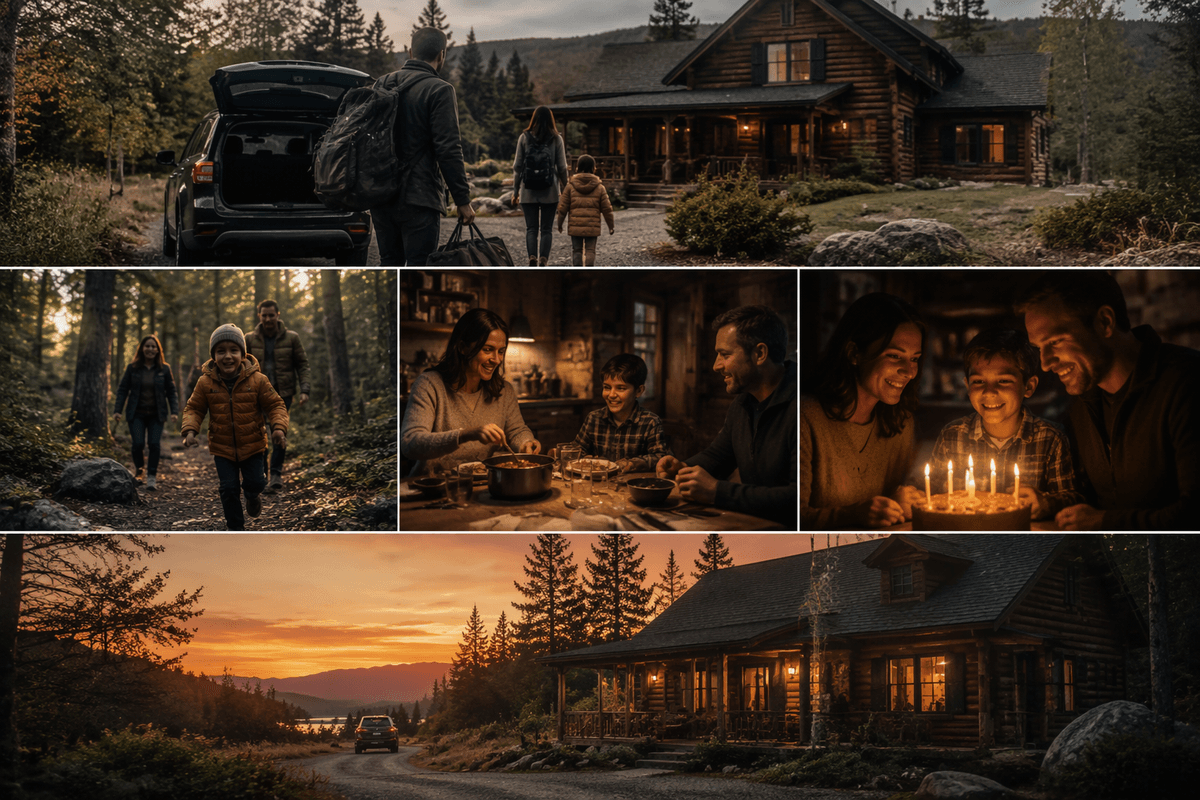
You can make almost any home video feel intentional by giving it a simple shape: a clear start, a few beats in the middle, and a clean finish. Your beginning is about orientation—one or two shots that answer “where are we, and what’s going on?” That can be an exterior sign, a quick wide shot, or a short title with the date and place. Don’t over-explain. Just get the viewer grounded in the first 5–10 seconds.
The middle is the “doing” part. Group your Selects into 2–4 mini-moments (arrive, explore, eat, celebrate), and keep each mini-moment tight: wide shot, close detail, a reaction, then move on. If you shot across multiple days, use a simple divider like “Day 2” rather than mixing everything together.
End with a clear last beat: leaving, a final wide shot, a quiet detail, or one good goodbye. It’s okay if you don’t have the perfect ending—forcing it can mean extra hunting and trimming time.
Cut for pace: shorter clips, fewer transitions, more clarity
You’ll feel the difference in pace the moment you start trimming to the action. Cut out the parts where the camera is searching, people are getting into position, or nothing changes. A simple rule that works for most home videos: if the shot doesn’t add new information in the next 2–4 seconds, it’s probably too long. Let a big moment breathe (first steps, blowing out candles, the view reveal), but be ruthless with “almost the same” angles. If you have three shots of the kids running, keep the best one and move on.
Keep transitions boring on purpose. Hard cuts are usually clearer than wipes, spins, and flashy effects, and they age better when you watch the video a year later. Use a dissolve only when time is obviously passing or you’re changing locations. If two clips feel jarring together, try solving it with one bridging shot (a sign, a close-up detail, a quick reaction) before you reach for an effect. The constraint is real: cleaner pacing often means losing clips you like, and that can sting.
Fix audio first: it’s what feels “professional”
You can get away with slightly shaky video, but people won’t tolerate bad sound. Start by listening through your cut with your eyes closed. If voices are quiet, echo-y, or buried under wind, fix that before you touch color. In most editors, this is a small set of moves: normalize or raise dialogue levels, reduce obvious hum or hiss, and use a gentle limiter so laughter and clapping don’t spike. If one clip is painfully loud compared to the next, lower it now—uneven volume reads as “unfinished” fast.
Then decide what the audio is supposed to be in each moment: original sound, music, or both. If you add music, keep it underneath the voice and key natural sounds (singing “Happy Birthday,” waves, cheering). Duck the music during dialogue, and fade in/out so it doesn’t startle people. The practical cost: good audio takes focused time and headphones; phone speakers hide problems, so you’ll miss issues until it’s too late.
Make the picture consistent with basic color and titles
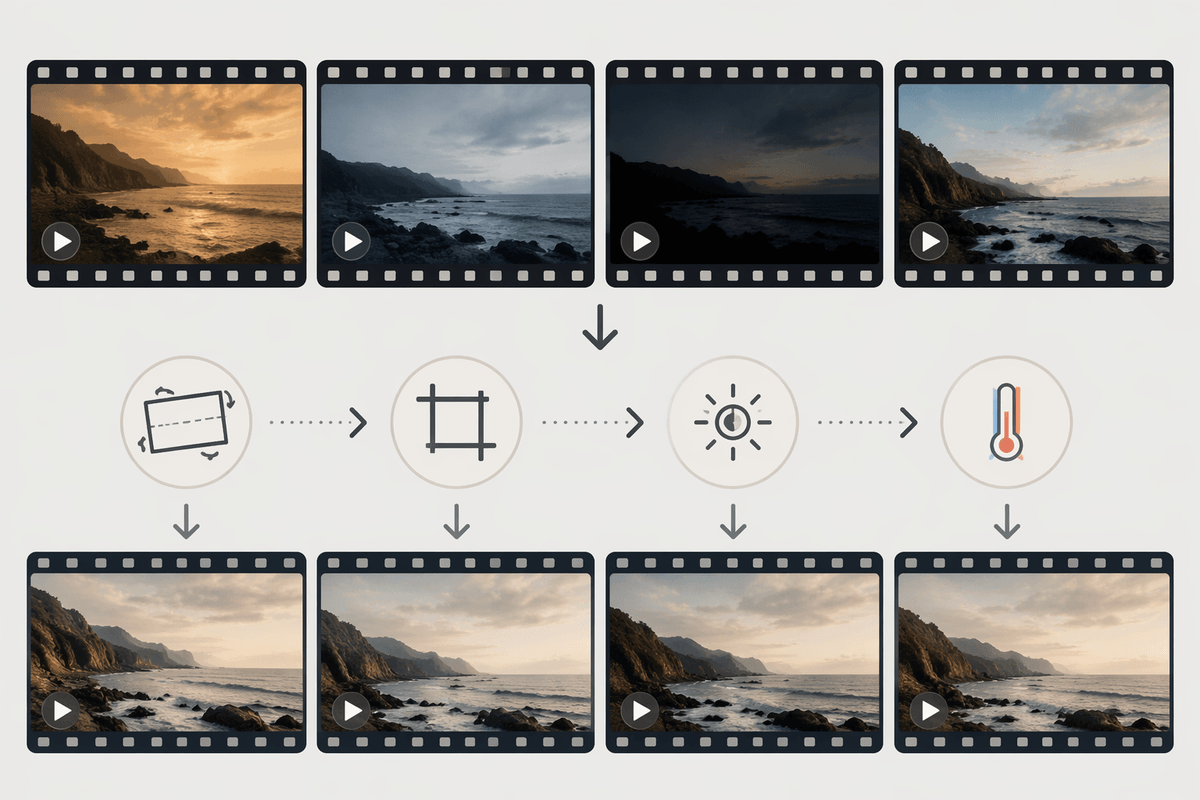
You’ve probably seen it in your own timeline: one clip is warm and golden, the next is cool and gray, and suddenly it feels like a random collection instead of one video. Start by picking one “normal” clip as your reference, then do simple fixes on the rest: straighten the horizon, crop just enough to remove distractions, and adjust exposure so faces aren’t too dark. If your editor has auto color, use it as a first pass, but don’t apply heavy looks—matching brightness and white balance across clips gets you 80% of the way.
Keep titles plain and readable. A quick opener like “Yosemite — June 2026” and a few small labels (“Day 2,” “Grandma’s house”) help viewers stay oriented without turning the video into a slideshow. Use one font, one size, and consistent placement. The constraint is time: color can become endless, so set a limit—fix the worst offenders, then stop.
Export, share, and save versions you won’t regret later
The fastest way to regret an edit is exporting once, deleting the project, and realizing you need a change. Export two versions: a “Share” file (H.264/MP4, 1080p is usually enough) and a “Master” file at the highest quality your editor offers that’s still practical to store. Watch the export all the way through with headphones before sending it—tiny audio pops and bad title timing hide in the timeline. Then save smart: keep your project file, used music, and a copy of your Selects on an external drive or cloud. Storage costs money, but reshoots cost more.