Screen recording on Android: what you can do fast
You usually don’t need an app to record your Android screen. On most phones, you can start a recording in under 10 seconds: swipe down from the top to open Quick Settings, look for a tile named “Screen record” or “Screen Recorder,” tap it, pick your audio option, and hit Start. A small timer or floating control appears so you can stop quickly when you’re done. The recording typically saves automatically to your Photos/Gallery app, often in an album called “Screen recordings.” The main catch is that each phone brand labels things differently, and longer recordings can heat your phone and cause lag.
Find the built-in Screen Recorder in Quick Settings
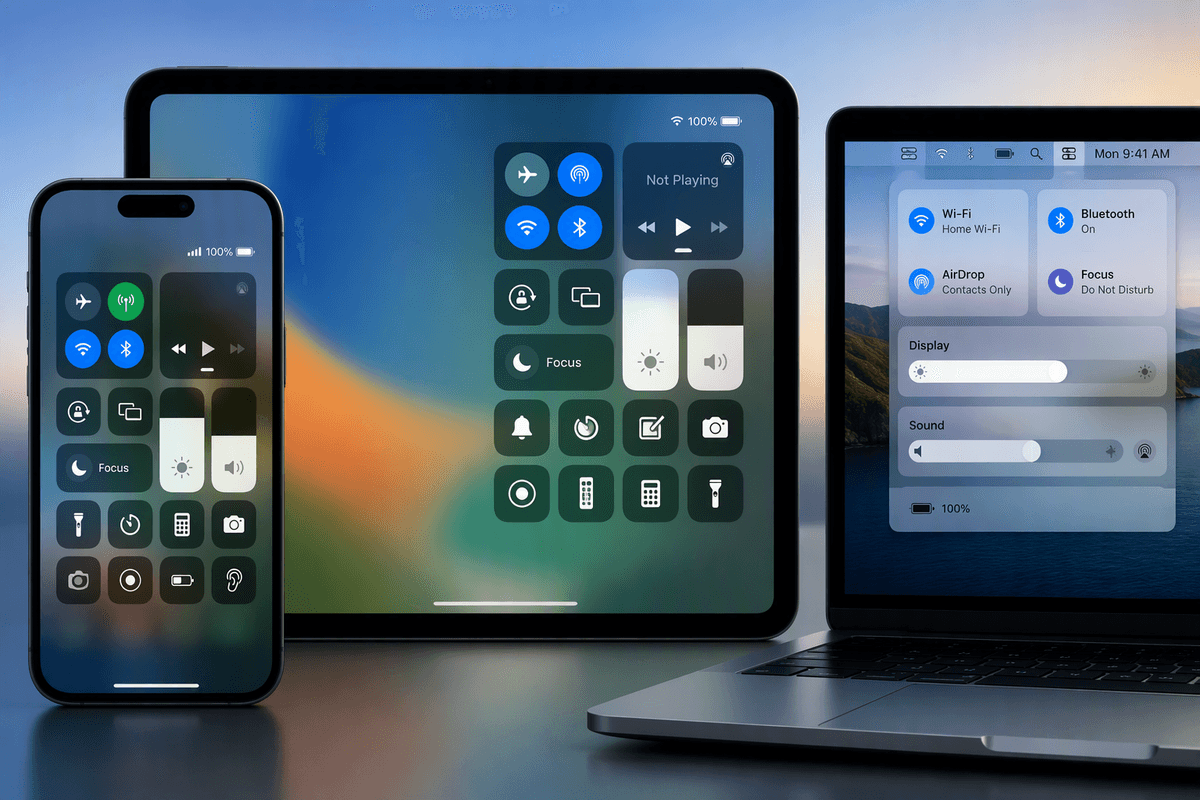
Most people miss the screen recorder because it isn’t on the home screen—it’s a Quick Settings tile. Swipe down once for notifications, then swipe down again to fully expand Quick Settings. Look for “Screen record,” “Screen Recorder,” or “Record screen.” If you don’t see it, tap the pencil/Edit button (sometimes “Edit tiles”) and check the hidden tiles area; drag Screen Recorder into your active tiles so it’s always one swipe away.
If there’s no tile at all, try using the Quick Settings search (on some phones) or type “screen recorder” in Settings search to confirm whether your model includes one. Brand names vary—Samsung often shows “Screen recorder,” while Pixel commonly uses “Screen record.” Adding the tile takes a minute, but it saves time every time you need to capture something quickly.
Record with the right audio: microphone, device, or both
You’ll usually get an audio choice right after you tap Screen record. Pick it based on what someone needs to hear. “Device audio” captures the sound your phone plays (video audio, app sounds), which is ideal for tutorials and walkthroughs. “Microphone” captures your voice and the room, which is better for explaining steps, narrating a bug, or recording a call on speaker (where legal). Some phones offer both at once; that’s great for teaching, but it can sound messy if your mic re-records the device audio and creates echo.
One practical limitation: many apps block internal audio for certain content, and some phones don’t support device audio at all—so do a 5‑second test clip before recording something important. If the recording will include sensitive info, remember your notifications may also make sound unless you silence them first.
Before you hit record: settings that change everything
You’ve probably hit record and then noticed the wrong things showing up: pop-up notifications, a low battery warning, or the volume slider flashing on-screen. Two quick fixes help most recordings look clean. First, turn on Do Not Disturb (or at least silence notifications) so private messages don’t appear and notification sounds don’t ruin the clip. Second, set your screen brightness manually; auto-brightness can pump the exposure up and down, especially in dark apps, and the video looks like it’s flickering.
It’s also worth closing heavy games, camera apps, or anything streaming in the background. Screen recording is demanding, and older phones can overheat or drop frames after a few minutes. If you need a tap indicator or want to hide touches, check your recorder’s options—some phones include it, others don’t.
When recordings fail: black screens, lag, and no sound
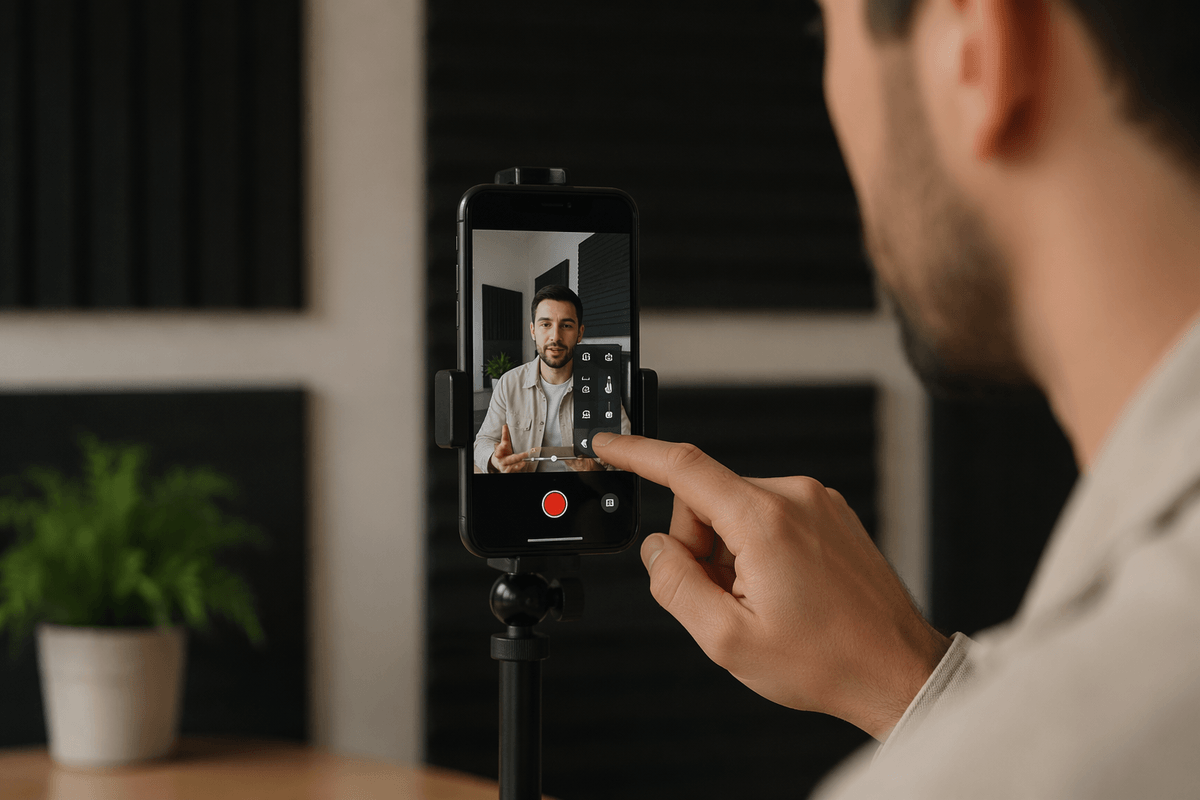
You hit stop and the video is just a black screen (or the app you needed is black). That usually means the app blocks screen capture for privacy—banking apps, some streaming services, and certain video players do this on purpose. Try recording one level higher: capture the steps leading up to the protected screen, then explain what should appear. Also check if you enabled “Record in HDR” or a high frame rate; switching to standard quality can fix weird playback on older phones.
If the recording is choppy or the phone gets hot, shorten the clip, lower resolution (1080p instead of 1440p/4K), and close anything using picture-in-picture, navigation, or screen overlays. For no sound, confirm you picked the right source at the start (device vs mic), turn media volume up before recording, and do a 5‑second test. If device audio is still missing, your phone or that app may not allow internal audio—use microphone as a fallback in a quiet room.
No built-in recorder? Choosing a safe third-party app
You’ll run into phones that don’t include a screen recorder, or where the built-in one is too limited (no device audio option, no touch indicators, low quality). When that happens, a third-party recorder is fine—but pick it like you would a banking app: boring, well-known, and easy to remove. Start with Google Play only, and prefer apps from established developers with a long update history. Read recent reviews for “black screen,” “no sound,” and “ads,” because those are the problems that waste time.
Be cautious with recorders that ask for contact access, SMS, phone, or “install unknown apps.” A screen recorder generally needs screen capture permission and maybe microphone—nothing more. Also expect trade-offs: free apps often add watermarks, limit resolution, or push subscription pop-ups. Before a real recording, do a 10‑second test to confirm where it saves and whether device audio actually records on your phone.
Save, edit, and share without losing quality or space
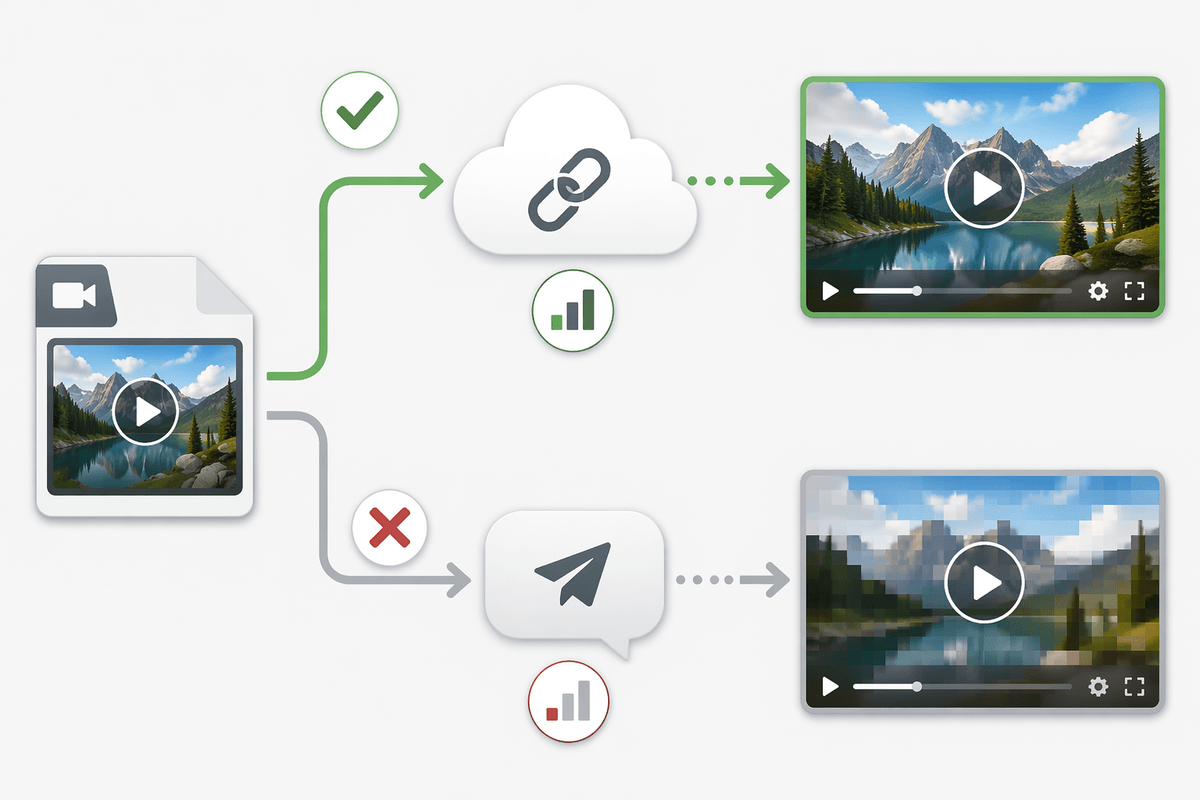
After you stop, open Photos/Gallery and look for an album like “Screen recordings.” Before sharing, do a quick trim to remove the first/last few seconds where you’re fumbling with controls—use the built-in editor so you don’t accidentally re-encode to a blurry file. If you need to send it, a share link (Google Photos link, Drive link) usually preserves quality better than texting a video, which often compresses it hard. If the file is too big, lower the export resolution when editing, or use “Save copy” so you keep the original.
Storage adds up fast: a few minutes at 1080p can be hundreds of MB. Once you’ve confirmed it uploaded or the recipient got it, delete the local copy or move it to cloud storage and clear it from Trash/Recently deleted so the space actually returns.
A simple repeatable workflow for any Android screen recording
You’ll get reliable results if you treat screen recording like a quick checklist. Swipe down, long-press the Screen record tile once to confirm options, then back out. Turn on Do Not Disturb, set brightness manually, and close anything heavy. Start the recorder, pick audio (device for tutorials, mic for explanations), and record a 5‑second test; if playback is good, do the real take. Stop from the floating control or Quick Settings, then open Photos/Gallery → Screen recordings and trim the dead time. Share with a link when possible, then delete or upload to avoid storage creep.